RAW Challenge
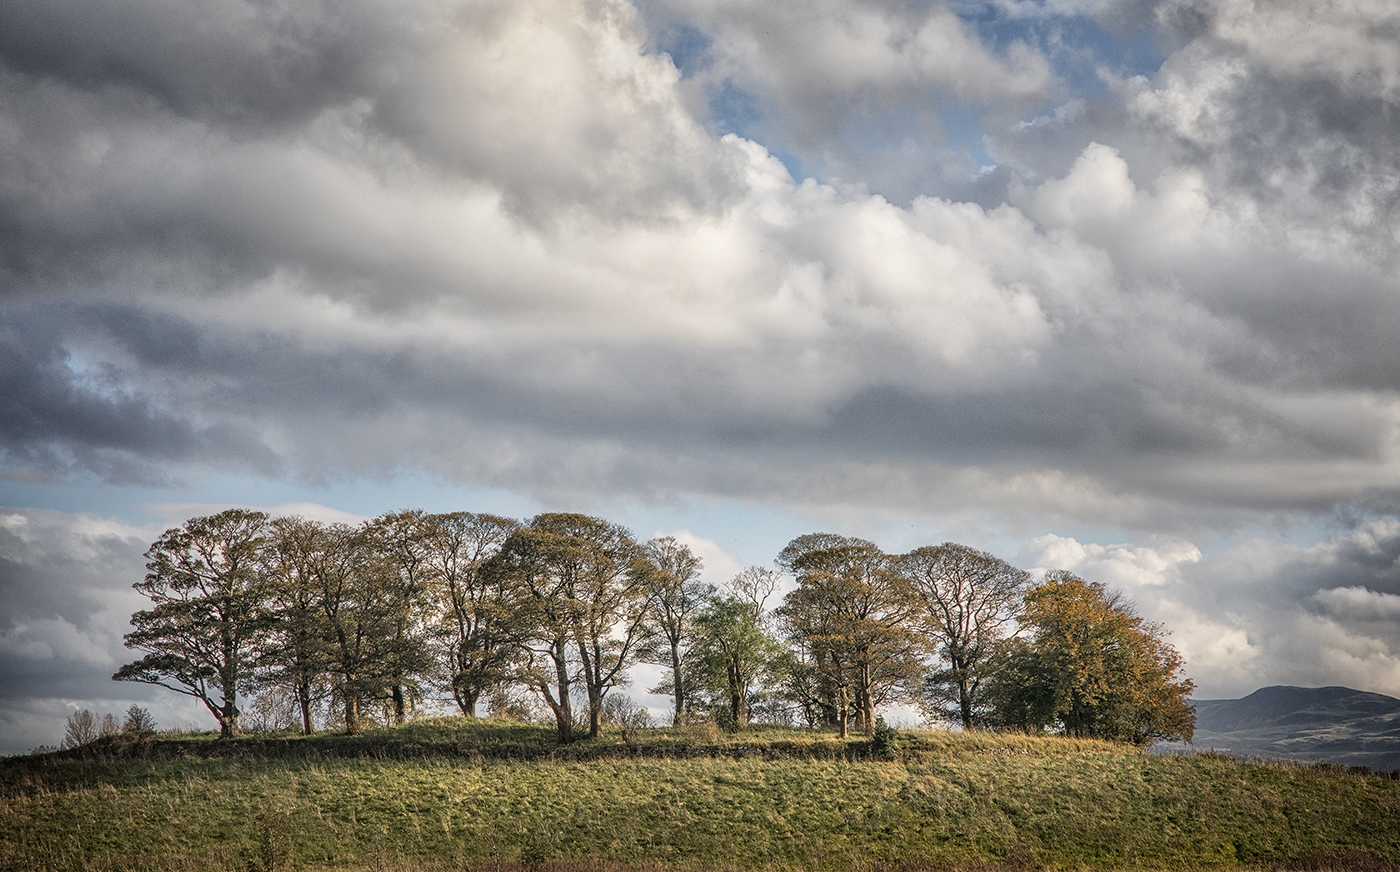
The image below is a jpg exported from a RAW file with no editing whatsoever. The challenge is to edit this in whatever way you wish.
This challenge is open to anyone who visits this page.
Download the RAW file by clicking HERE.
Edit the file in any way you wish, using whatever software you wish. Save your finished result as a jpg file. Send it to me at norman@fotoscope.co.uk. It would be great if you included some text describing what you did.
I can’t guarantee that all results will be posted on the site but I’ll put up as many as possible.
The Results
The results below illustrate a number of points:
- RAW files contain a huge amount of information which can be recovered in post-processing. The original RAW file is dark, shadow areas are muddy and highlights are flat and lack any sparkle. All of this can be addressed in post-processing. This has changed the way I take photographs. In the olden days I would be trying to TAKE the best picture I could in camera. With digital, I set out to make sure I have captured all the information I need to MAKE the best picture I can.
- Post-processing can be used to correct flaws in the original image. This image wasn’t quite straight and there were several fuzzy birds and a variety of other unwanted blobs in the sky. All very easy to fix in post.
- The different interpretations of the same shot are testimony to the subjectivity of photography. We all see differently when we take photographs and we all choose to interpret them differently in post-processing.
The processed images are grouped into ‘straight edits’ and ‘not so straight edits’.
Click on any image to see a bigger version.
‘Straight’ Edits
Martin Ragg – Cammo – Sky Replace + Crop
The heavy lifting was done by (a) SNS-HDR, (b) Luminar AI to replace the sky and (c) Photoshop to crop to 16:9 ratio and a few minor adjustments.
(Although not a Fotobuddy, I’m delighted to see other site visitors having a go! Perhaps time for a new challenge!)
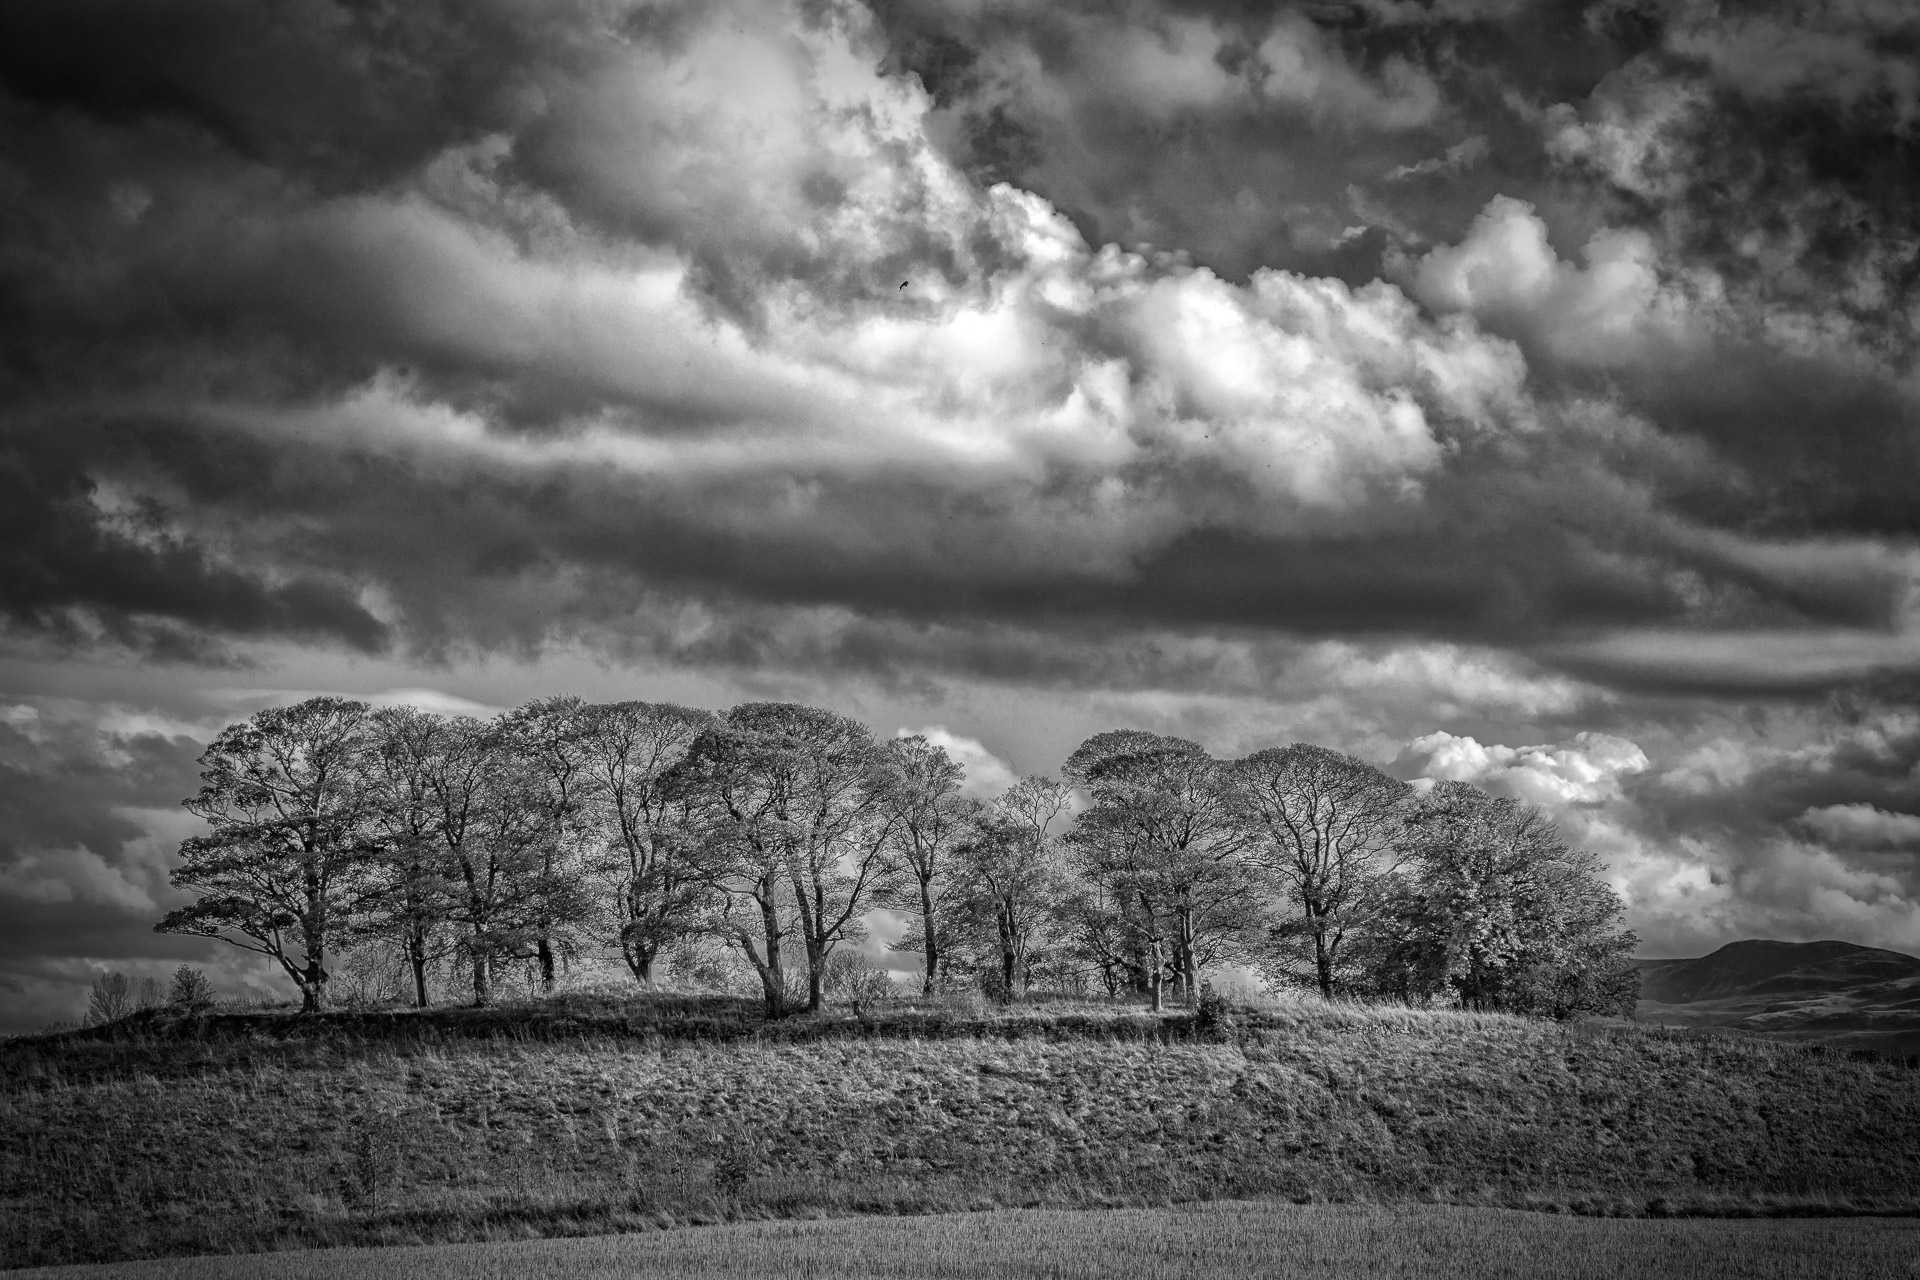
Nick Prior – Cammo Challenge 1
In Lightroom:
Exposure +1.8
Shadows: +62
Whites: +27
Texture: -65
Dehaze: -8
Sharpening amount: 40 radius: 1 Detail: 24 Masking 0
Set to black and white
Boosted the shadows in the bush on the right by a little bit
Then into NIK RAW Pre sharpener and set Adaptive sharpening to about 75 and boost edge sharpening by about a quarter
Back to Lightroom
Crop to 3:1 aspect ratio
Contrast: -39
Highlights: -21
Shadows: +17
Whites: +33
Blacks -27
Texture: +39
Clarity: -61
Dehaze: +42
More sharpening! Amount +46, Radius 1.8 Detail 25 Masking 57
Vignette: -24
Finally, fixed all the spots from the camera sensor.
Alistair Cowan – Cammo 1
For me, the main feature is the clouds. Here’s what I did:
LIGHTROOM:
- Lifted the exposure and contrast
- Added an Autumn preset to boost the oranges in the trees.
- Adjusted highlights and shadows to bring out the detail in the clouds.
- Straightened the image.
- Export to Photoshop
PHOTOSHOP
- Crop bottom – corn field is a distraction. And cropped top to take out some of the sky and balance things.
- Burned bottom half a little
- Dodged centre a little
- Added a “Bright Beam” action to warm the image.
- Removed the annoying bird that looked like a smudge.
- Added oil painting effect from Snap Art and used “colour” blend mode to boost the detail.
- Burned top 1/3rd to emphasise the clouds and a wee bit of dodging bottom right to lift the distant hills.
Norman Dodds – Cammo Landscape
Lightroom
I began with the usual global adjustments – lens correction, chromatic aberration and some extra sharpening (59).
Then I cropped the image to a 2:1 format, bringing it in a little on each side and losing a little of the foreground and a lot of the sky.
Next was a series of tonal and colour adjustments. My intention was to create the desired result for the sky in the first instance. I also added a 10% increase in clarity to add slightly more detail to the sky.
Next I created a virtual copy and concentrated on the trees. This time the adjustments were intended to recover detail in the trees. I upped the exposure by half a stop, increased shadows to 100%, increased whites to 15% and added 15% to the texture slider.
Finally I exported both copies to Photoshop using ‘Edit as layers in Photoshop’.
Photoshop
I started with 2 layers – one where I would use the sky and foreground, the other where I would use only the trees.
I used a combination of filters in Color Efex Pro with the sky/foreground layer with the intention of softening the clouds.
I copied this layer and made all of it darker using the Lightness slider in the Hue/ Saturation/ Luminance filter. I then created a simple mask using the lasso tool and converted that to a layer mask so only the foreground was visible.
This resulted in the sky and the foreground I wanted but the trees were still far too dark.
Next I created a luminosity mask to isolate the trees from the background. I applied this mask to the Trees layer.
At this point I had 3 layers:
- a bottom layer with the sky as I wanted it
- a middle layer containing a darker foreground only
- a top layer containing only trees
I adjusted the masks in the top two layers by ‘painting’ details in with a white brush, or out using a black brush.
I used ‘Merge Visible’ to combine all 3 layers into a single layer with the almost final result.
Last of all, I removed a large number of sensor spots, fuzzy birds and other extraneous marks in the sky. (Yes.. I know I should have done that first in Lightroom!)
Alastair Forbes – Cammo Monochrome
Neil McCoubrey – Cammo Landscape
This version is inspired by Dutch Landscape painting. It was the sky that prompted this interpretation.
Nick Prior – Cammo Mono
‘Not so straight’ Edits
Alan Thomson – Cammo Landscape
A hint of Photoshop
A dab of images
A stir of little boat
Voila, RAW Challenges
Nick Prior – Cammo Flage
After a fairly standard Highlights/Shadows/Whites/Blacks adjustment in Lightroom.
Edit in Photoshop: create a duplicate layer and apply the Crystallize filter to it. Then reduce the Opacity of this new layer to about 50% so the trees in the background layer just show through. All done!
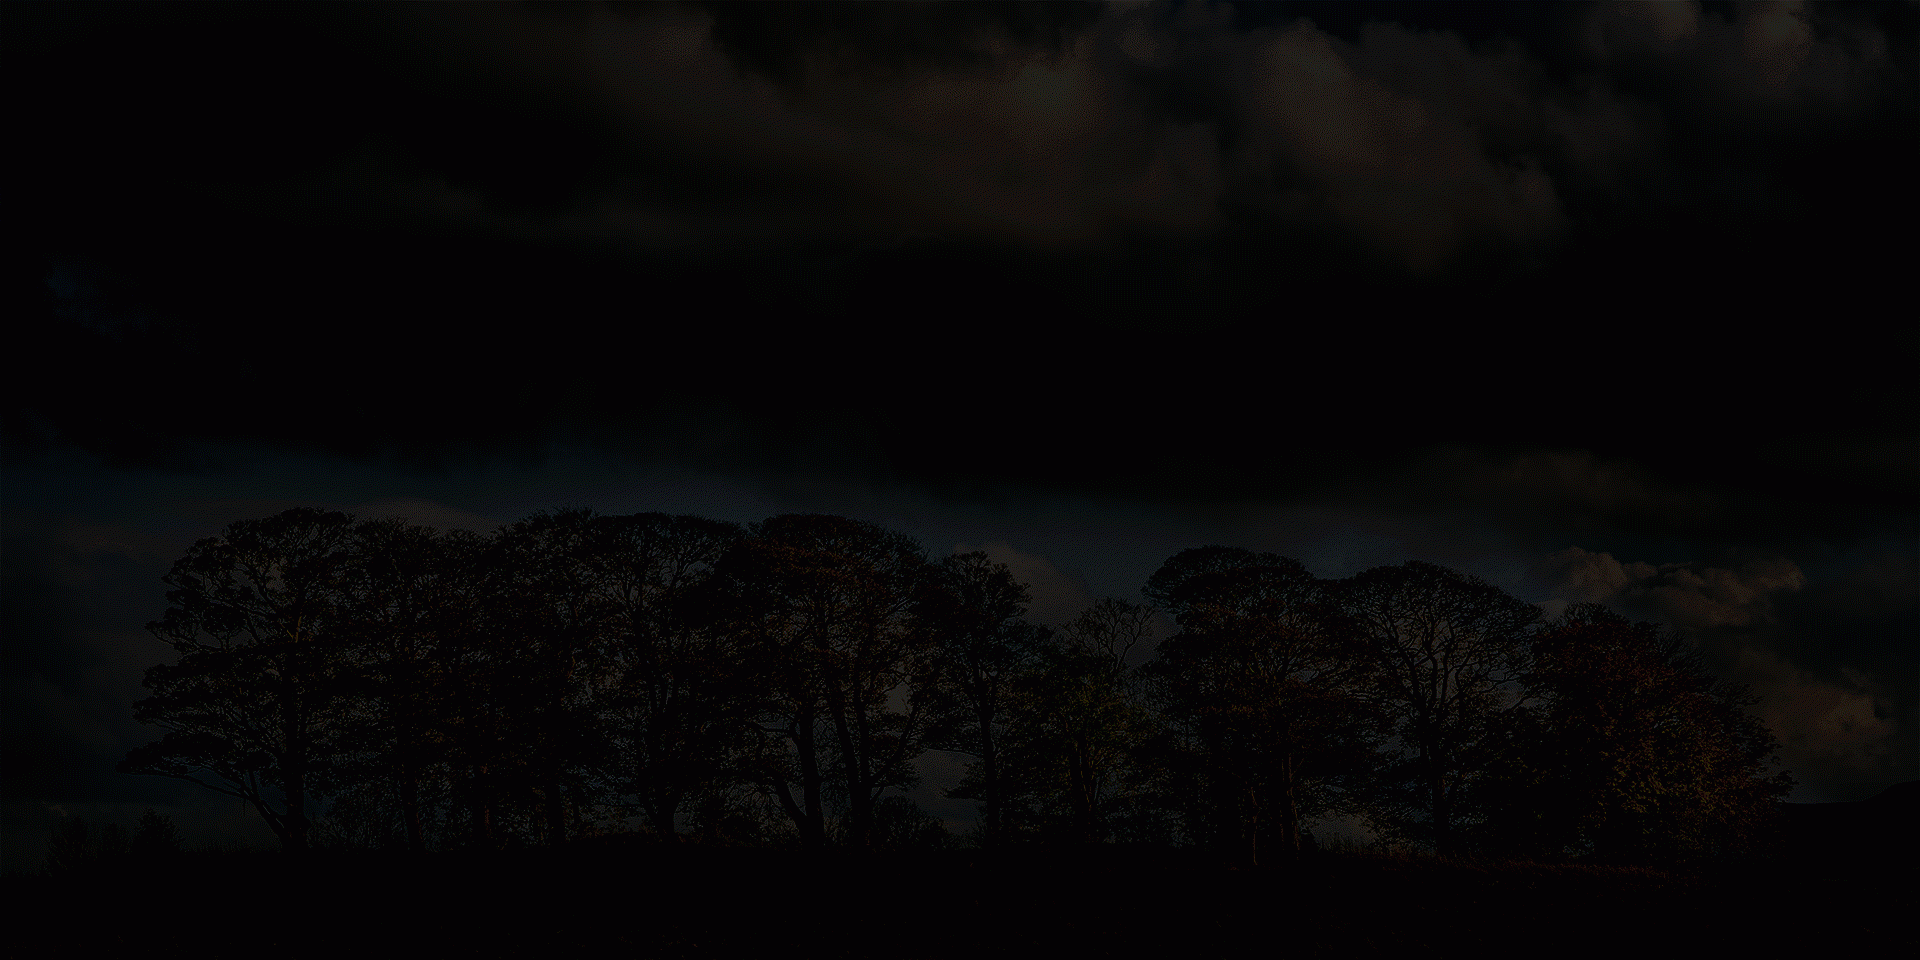
Norman Dodds – Cammo at night
(You need to click this one!)
Nick Prior – Cammo Challenge 3
Again after a fairly standard Highlights/Shadows/Whites/Blacks adjustment in Lightroom.Edit in Photoshop and play with the Liquify filter, drawing out little peaks from the hill in the background, and swirling around the blackbird in the sky, all until you get bored!
Alan Thomson – Cammo Landscape 2
Sanity is curable by taking a large dose of Photoshop at least once a day…I take two!
Nick Prior – Cammo Challenge 3
Simpler processing in PS but with some further adjustments and added blackbird ….!


